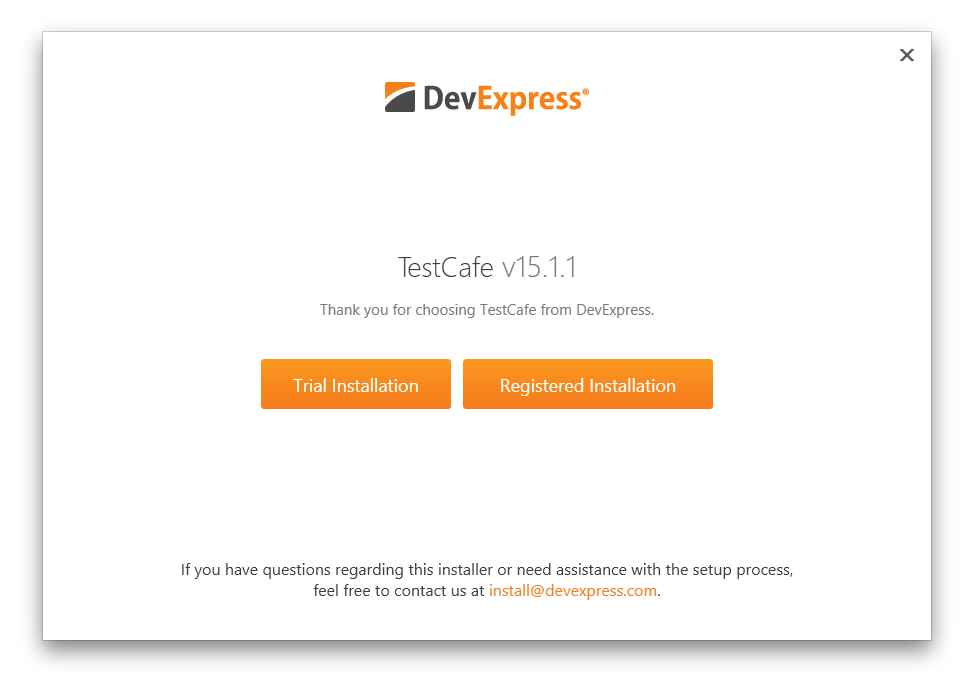
SETUP
Distribution Files
Since TestCafe can be used on different operating systems, it is distributed as an installation file for Windows and MacOS, and a separate ZIP file for Linux.
Windows
When using Windows, the installer will ask you to carry out a few simple steps. If you are the registered user, enter your DevExpress.com login credentials or choose the "Trial installation" option. Then, enter the physical path you want to install TestCafe to (the default path: Program Files\DevExpress\TestCafe). After installation is completed, the installer will unzip the required files, create the TestCafe shortcut in the startup menu and open the TestCafe Control Panel in your default browser.
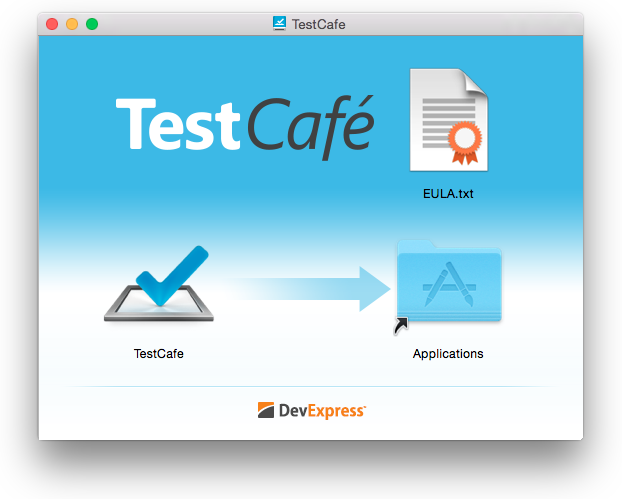
MacOS
The installer for MacOS will request the administrator's password and setup TestCafe into Applications/TestCafe.
Linux
For a Linux machine, once downloaded, unzip the contents of the TestCafe archive to the directory where you wish to store TestCafe program files. Note that this is not a temporary folder - no further installation or unpacking is required.

If you need to relocate TestCafe program files to a different directory, simply move them to the new location.
First Run
TestCafe Settings
During the first run, TestCafe automatically collects the required information, including the installed browser list. To modify TestCafe settings manually, please refer to the TestCafe Settings section in the documentation.
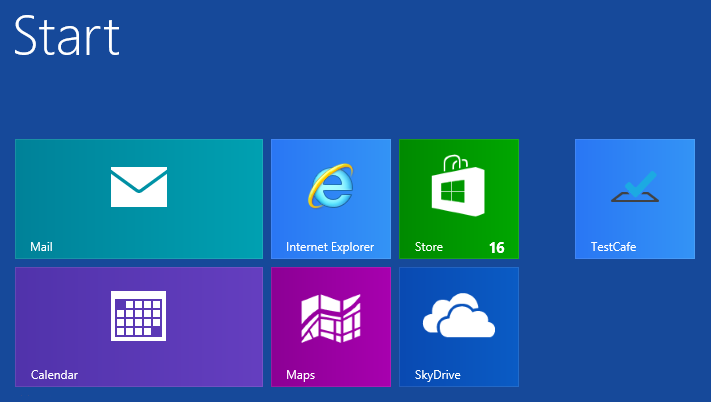
Windows
The Control Panel will be opened within your web browser automatically after installation is complete by default.
Alternatively, you can run TestCafe from the Windows startup menu.
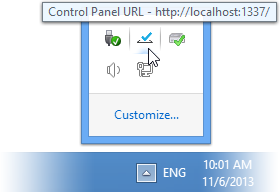
Once you've launched TestCafe, it displays a specific icon within the system tray. Double-click this icon at any time to open the TestCafe Control Panel. You can also right-click the icon to access the context menu allowing for the same action, copying the TestCafe's URL to the clipboard or shutting down the TestCafe process.
![]()
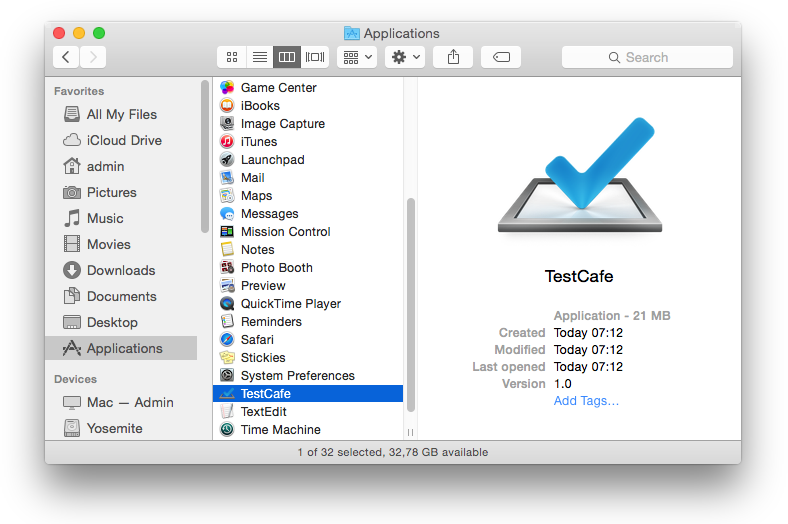
MacOS
On a MacOS machine, TestCafe can be run from the Applications directory.
Once you've launched TestCafe, it displays a specific icon within the status bar. Double-click this icon at any time to open the TestCafe Control Panel. You can also click the icon to access the context menu allowing for the same action, copying the TestCafe's URL to the clipboard or shutting down the TestCafe process.
![]()
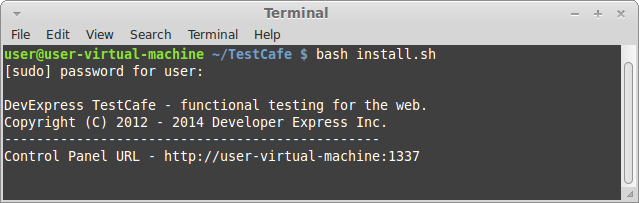
Linux
On Linux systems, execute the following two commands for the first run.
$ cd ~/(path to TestCafe)
$ bash install.sh
The moment installation is complete, a console application will be launched, which will start the TestCafe process and open your default browser with the TestCafe Control Panel.
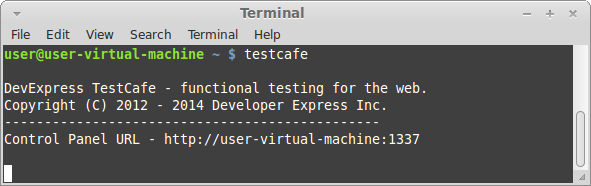
To run TestCafe at a later time, use the following command.
testcafe
To exit TestCafe, close the console application and the Control Panel.
Access to the Control Panel
Once the runner completes its initialization, TestCafe automatically starts your default browser and displays the Control Panel.
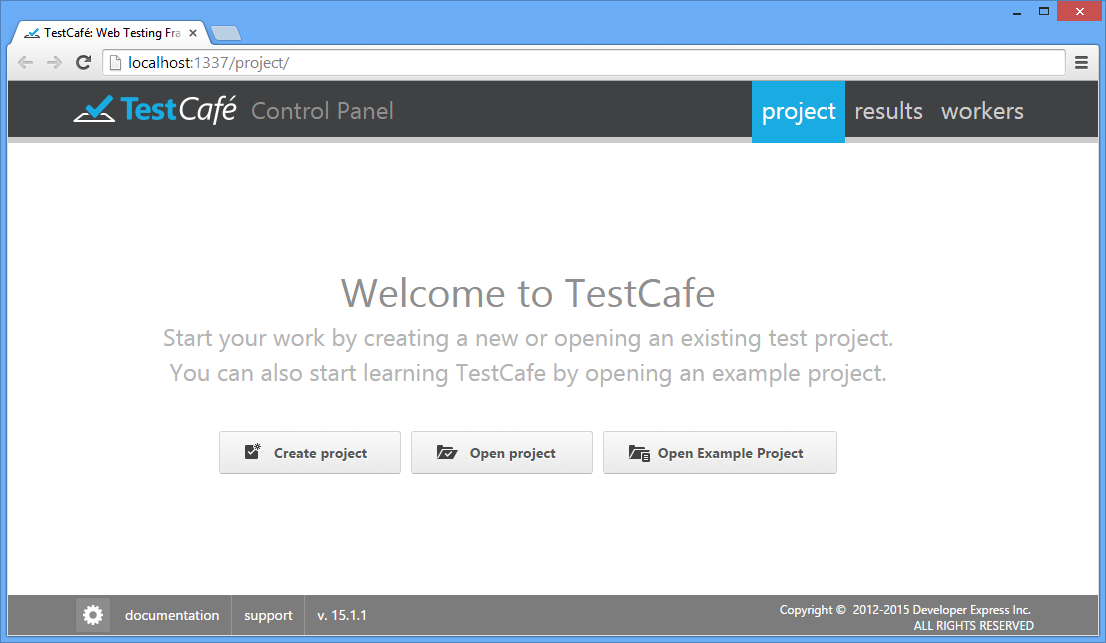
This UI is available from any browser while TestCafe is running. Simply use the URL displayed in the address line of the browser where you started TestCafe. If you use default port and hostname values, the URL is http://your-computer-name:1337.
If you use the Windows or MacOS operating system, the Control Panel URL is also shown when you point at the TestCafe icon in the system tray (for Windows) or menu bar (for MacOS). You can also copy the URL to the clipboard from the TestCafe icon's context menu.
If you use the Linux system, use the URL displayed in the command prompt.
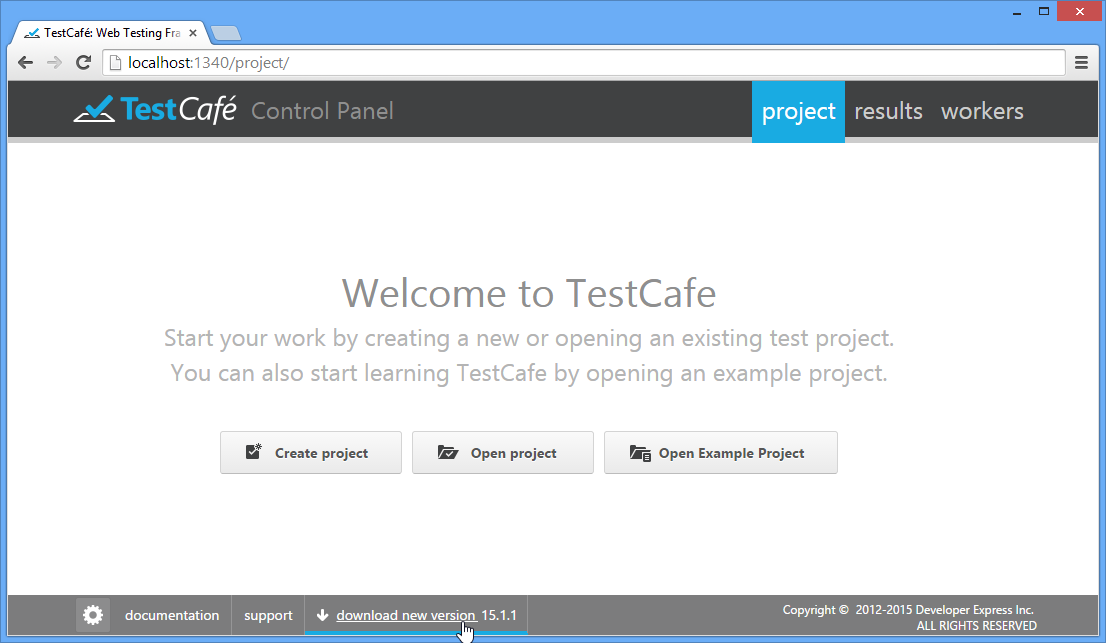
Upgrade
You can upgrade TestCafe to a new version either on the TestCafe website or within the TestCafe Control Panel by using a specific software update indicator. The indicator becomes a link automatically when a new TestCafe version is available.
Different versions of TestCafe don't conflict with each other on the same machine. So, one way to upgrade to a new version is to simply launch the installation (for Windows and MacOS) or unpack the newly downloaded archive to a new directory (for Linux), and then use the previously created configuration file and test files.
For Linux, if you wish to replace your existing version with a new one, first make a backup copy of your tests (JavaScript files) and the configuration file (config.json). Then, clear the destination folder, unpack the files, replace the configuration file and test with your backup copies, if necessary.